Weatherstripping is an essential part of any car, helping to keep the elements out and the interior comfortable. However, over time, weatherstripping can become worn or damaged, and need to be replaced. When this happens, it’s important to know how to remove the old weatherstripping without damaging your car.

Image: proformproducts.com
There are many factors that can contribute to the deterioration of weatherstripping, including UV exposure, extreme temperatures, and contact with harsh chemicals. The good news is that removing weatherstripping is not a difficult task, but it does require some care and attention to detail.
Understanding Weatherstrip Adhesive
Weatherstrip adhesive is a strong, sticky substance that is used to hold weatherstripping in place. It is typically a clear or white color and can be difficult to remove, which can lead to problems when attempting to replace the weatherstripping. There are a few different types of weatherstrip adhesive, each with its own unique properties and removal methods.
The most common type of weatherstrip adhesive is a solvent-based adhesive that is made from chemicals such as acetone or petroleum distillates. This type of adhesive is very strong and can be difficult to remove, and it can damage paint and other surfaces if it is not removed properly. The acrylic-based adhesive is another common type of weatherstrip adhesive but is not as strong as solvent-based adhesives and is therefore easier to remove. The water-based adhesive is the least common type of weatherstrip adhesive and is made from water and other natural ingredients. This type of adhesive is easy to remove but can be less effective in sealing out the elements.
Tools and Materials needed
- Razor blade or utility knife
- Rubbing alcohol
- Goo Gone or other adhesive remover
li>Clean cloths or rags
Safety Precautions:
- Always wear safety glasses when working with sharp objects.
- Wear gloves to protect your hands from chemicals.
- Work in a well-ventilated area to avoid inhaling fumes.

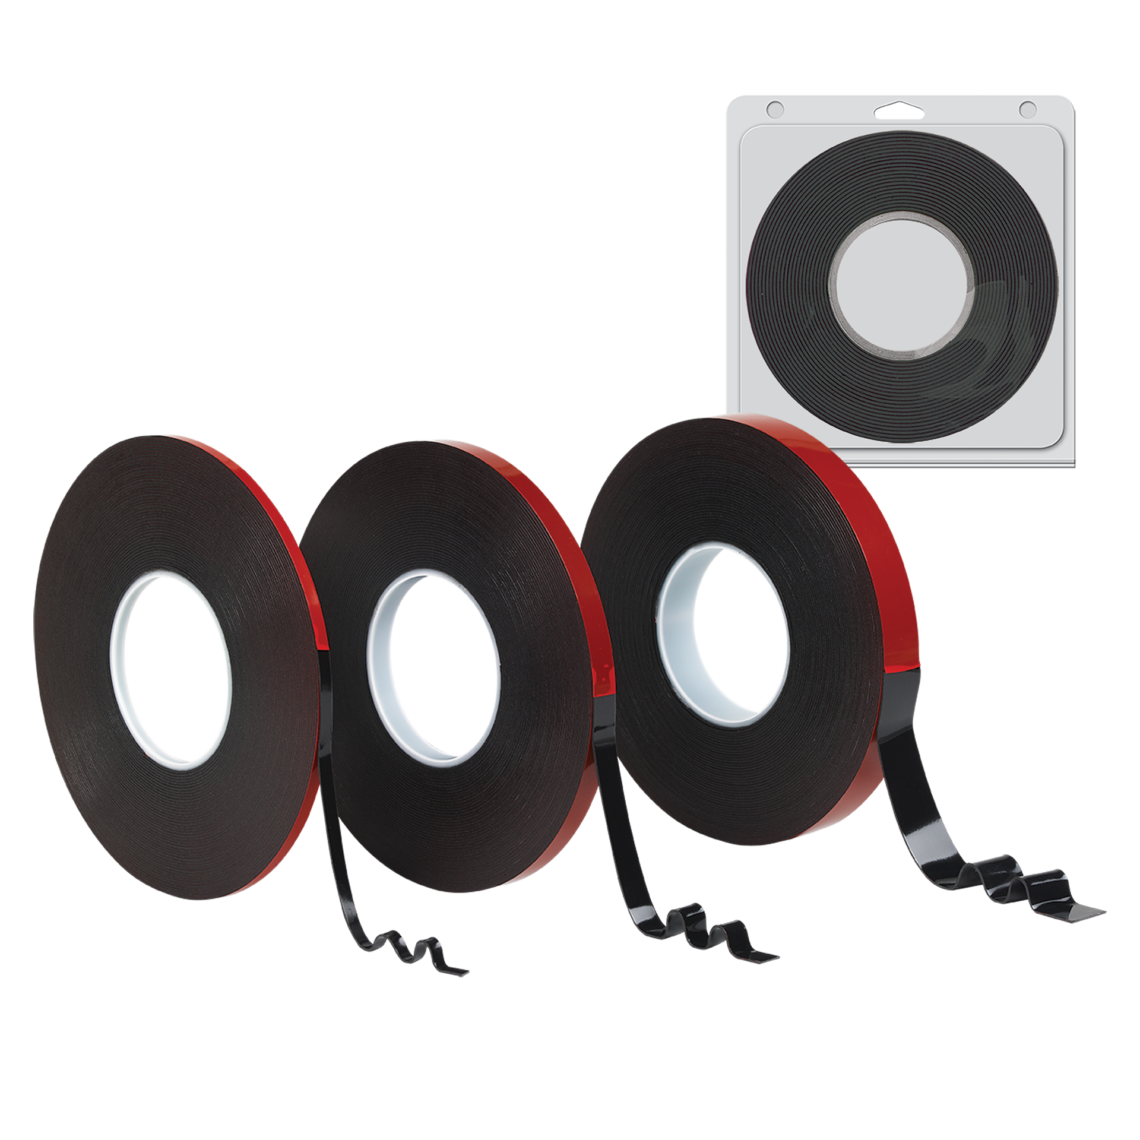
Image: www.aliexpress.com
Step-by-step Instructions:
Before removing the weatherstripping, it is important to clean the area around it with rubbing alcohol. This will help to loosen the adhesive and make it easier to remove. Using a utility knife or razor blade, carefully cut along the edge of the weatherstripping to separate it from the car’s body or window. Once the weatherstripping is separated, use a cloth or rag Dampened with rubbing alcohol to wipe away any remaining adhesive. If there is still adhesive residue, apply a small amount of Goo Gone or another adhesive remover to a clean cloth and rub it over the area until the adhesive is removed. Once the adhesive is removed, wipe the area clean with a clean cloth or rag.
Tips and Expert Advice:
- If the weatherstripping is old and brittle, it may be easier to remove it by hand. Simply pull the weatherstripping away from the car’s body or window, being careful not to tear it.
- If the weatherstripping is stuck in place, you can use a heat gun to soften the adhesive. Hold the heat gun about 6 inches away from the weatherstripping and move it back and forth until the adhesive softens. Once the adhesive is softened, you can use a razor blade to cut along the edge of the weather stripping and remove it.
- If you are replacing the weatherstripping, be sure to use a compatible adhesive. The type of adhesive you need will depend on the type of weatherstripping you are using.
Frequently Asked Questions:
- What are the most effective adhesive removal techniques?
The most effective adhesive removal techniques include using a sharp razor blade to cut through the adhesive, gently applying heat with a heat gun or hairdryer to soften the adhesive, and using a citrus-based cleaner to dissolve the adhesive.
- What is the most challenging aspect of removing weatherstripping adhesive?
The most challenging aspect of removing weatherstripping adhesive is usually the amount of time and effort required to fully remove all traces of the adhesive without damaging the underlying surface.
How To Remove Weatherstrip Adhesive
Conclusion:
Whether you’re a professional mechanic or a DIY enthusiast, understanding how to remove weatherstrip adhesive is a valuable skill that can save you time, money, and frustration. Always remember to prioritize safety by wearing appropriate protective gear and working in a well-ventilated area when handling strong cleaning solutions and sharp tools, and you’ll be able to tackle this task confidently. Don’t let old, worn-out weatherstripping compromise the comfort and efficiency of your vehicle – take action today and give your car the maintenance it deserves.
Let me know if you have any further questions or need additional information about removing weatherstrip adhesive. I’m always happy to help!