Have you neglected your sourdough starter, leaving it in the depths of your fridge, forgotten and forlorn? Fret not, for with a touch of warmth and care, you can revive it back to its bubbly glory. In this comprehensive guide, we’ll explore the secrets of warming sourdough starter, ensuring it regains its vitality and unleashes its sourdough magic once more.
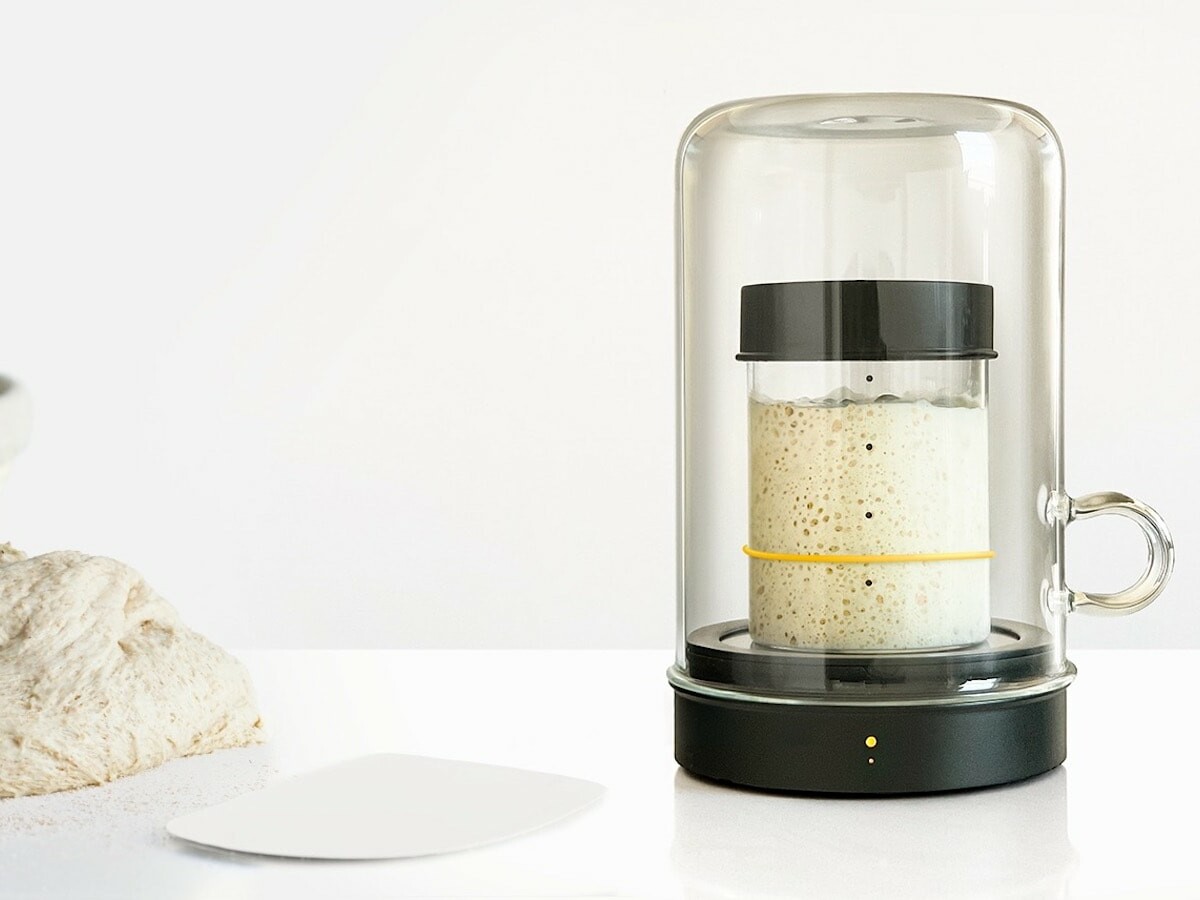
Image: thegadgetflow.com
Understanding Sourdough Starter: A Symbiotic Symphony
A sourdough starter is a lively ecosystem teeming with microorganisms, primarily lactic acid bacteria and wild yeasts. These microscopic helpers work together in harmony, fermenting carbohydrates to produce the characteristic sour flavor and distinctive structure of sourdough bread. When properly maintained, a starter can live on indefinitely, passed down through generations like a cherished family heirloom.
Why Warm A Sourdough Starter?
Sourdough starters, like any living organisms, thrive within specific conditions. When stored in the fridge, the cold temperatures slow down the metabolic activity of the microorganisms, putting the starter in a state of suspended animation. Warming the starter brings it back to life, allowing the microbes to resume their fermentation process and regain their vigor.
Reviving Your Sourdough Starter: A Warm Embrace
To revive your cold sourdough starter, follow these steps:
- Step 1: Bring it to Room Temperature
Remove the starter from the fridge and allow it to come to room temperature for several hours, typically 8-12 hours. This allows the starter to adjust slowly to the warmer conditions.
- Step 2: Feed with Flour and Water
Once the starter has reached room temperature, feed it with equal parts (by weight) of all-purpose flour and water. Use the same flour you normally use for your sourdough bread.
- Step 3: Stir and Let Sit
Stir the starter thoroughly to combine the flour and water. Cover the container loosely with plastic wrap or a lid and place it in a warm place, such as the top of the fridge or under a heat lamp.
- Step 4: Check and Feed Regularly
Over the next few days, check the starter daily. If it shows signs of activity, such as bubbles or a slightly sour aroma, feed it again with equal parts flour and water. If the starter has not shown any activity after 3-4 days, increase the feeding frequency to twice a day.
- Step 5: Repeat Feeding Cycle
Continue feeding the starter every 12-24 hours until it doubles in size after being fed. Once it reaches this stage, your starter is ready to use.
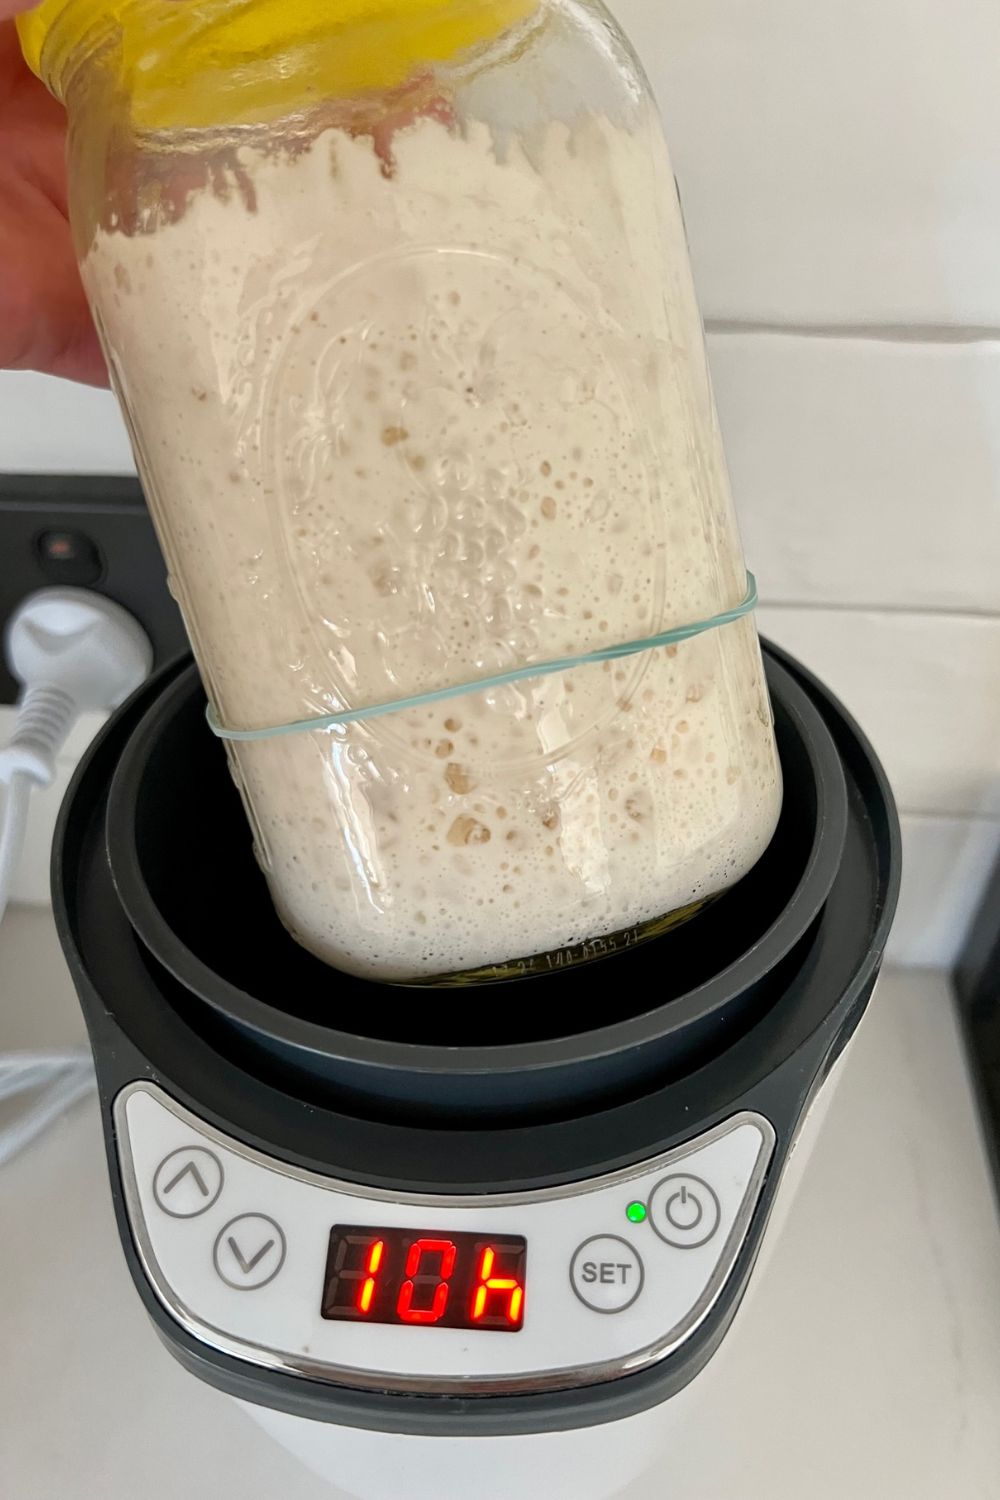
Image: www.pantrymama.com
Expert Tips for Reviving Sourdough Starter
-
Use filtered or spring water. Chlorinated water can inhibit microbial growth.
-
Try different flours. Whole wheat or rye flour can give your starter a different flavor profile.
-
Be patient. Reviving a sourdough starter can take time. Don’t be discouraged if it takes a few attempts to get it back to its peak condition.
-
If the starter develops a sour smell or mold, discard it and start over.
How To Warm Sourdough Starter
Conclusion
Reviving a sourdough starter is a labor of love that rewards you with a vibrant and flavorful addition to your kitchen. By understanding the science behind sourdough and following the simple steps outlined in this guide, you can bring your beloved starter back to life, ready to create delicious and nutritious sourdough bread once more.
